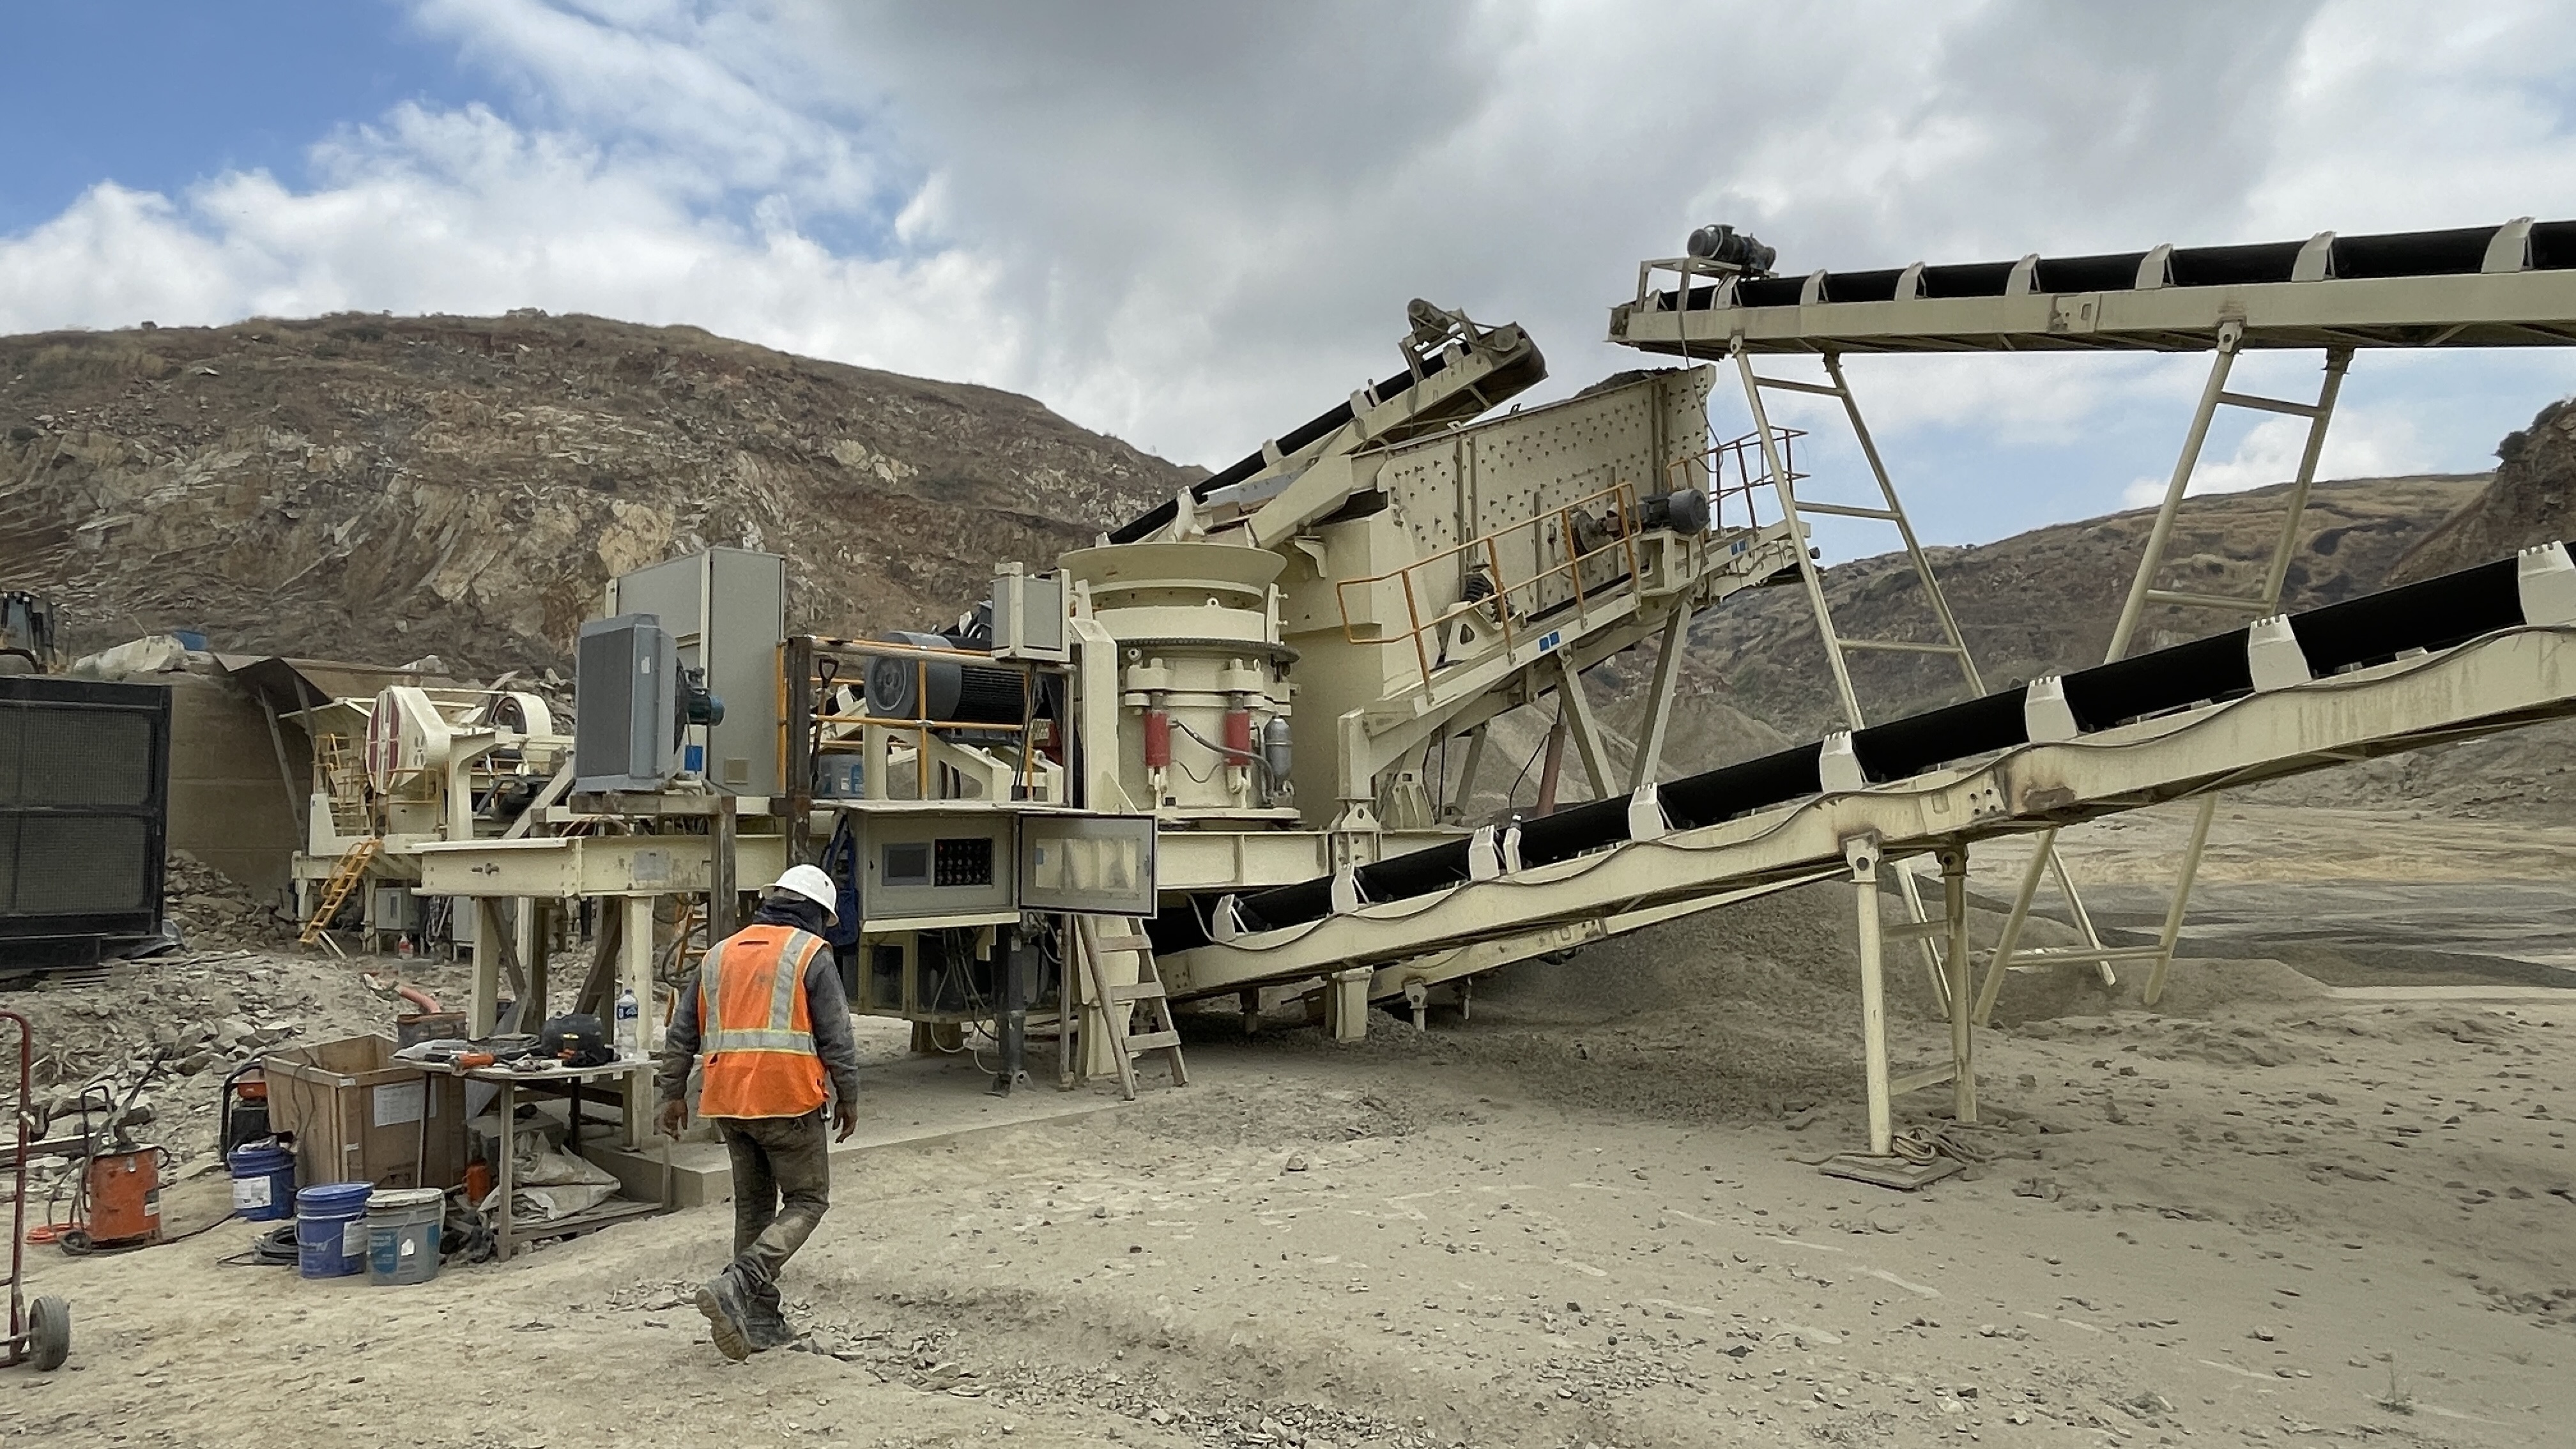
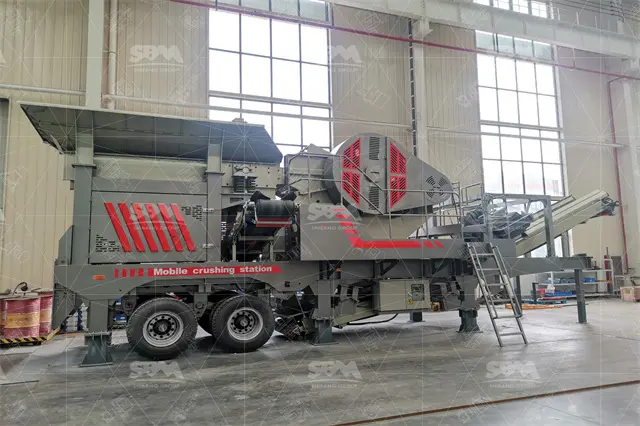
Installing a ball mill is a massive task. It is the heart of the mineral processing plant. If the heart beats wrong the whole plant dies. Precision is everything here. Many site engineers fear this stage. But with the right steps it becomes manageable. This guide covers the process. We focus on practical site engineering.
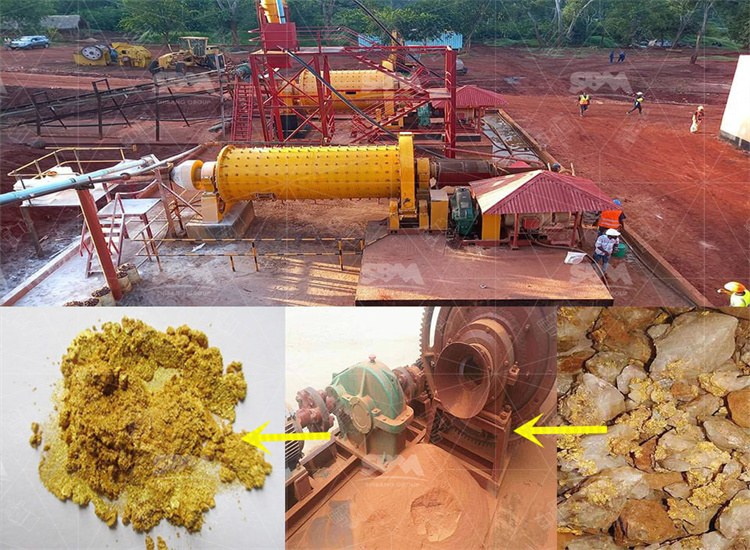
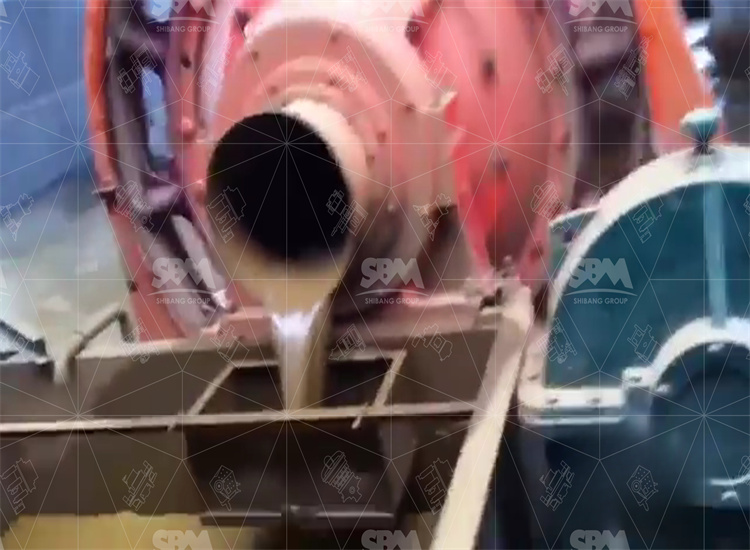
Before we lift heavy steel we must know the machine. A ball mill grinds ore. It uses steel balls inside a rotating cylinder. The cylinder rotates. The balls drop and crush the ore. This is impact and attrition.
Key Concepts:
The Critical Speed is vital. It is the speed where balls stick to the wall. They do not drop. No grinding happens. We usually run at 65% to 75% of critical speed. Why? To get the best cascade effect.
Formula: Critical Speed (rpm) = 42.3 / Square Root of Diameter (meters). This is industry standard.
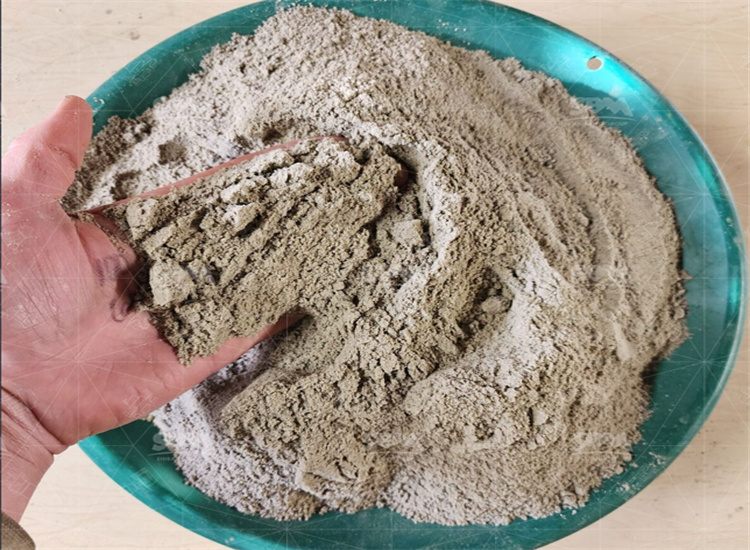
Grain Size: Feeding size is usually 20mm to 25mm. Output size is 0.074mm to 0.4mm. We call this the mesh size. Consistency is key here.
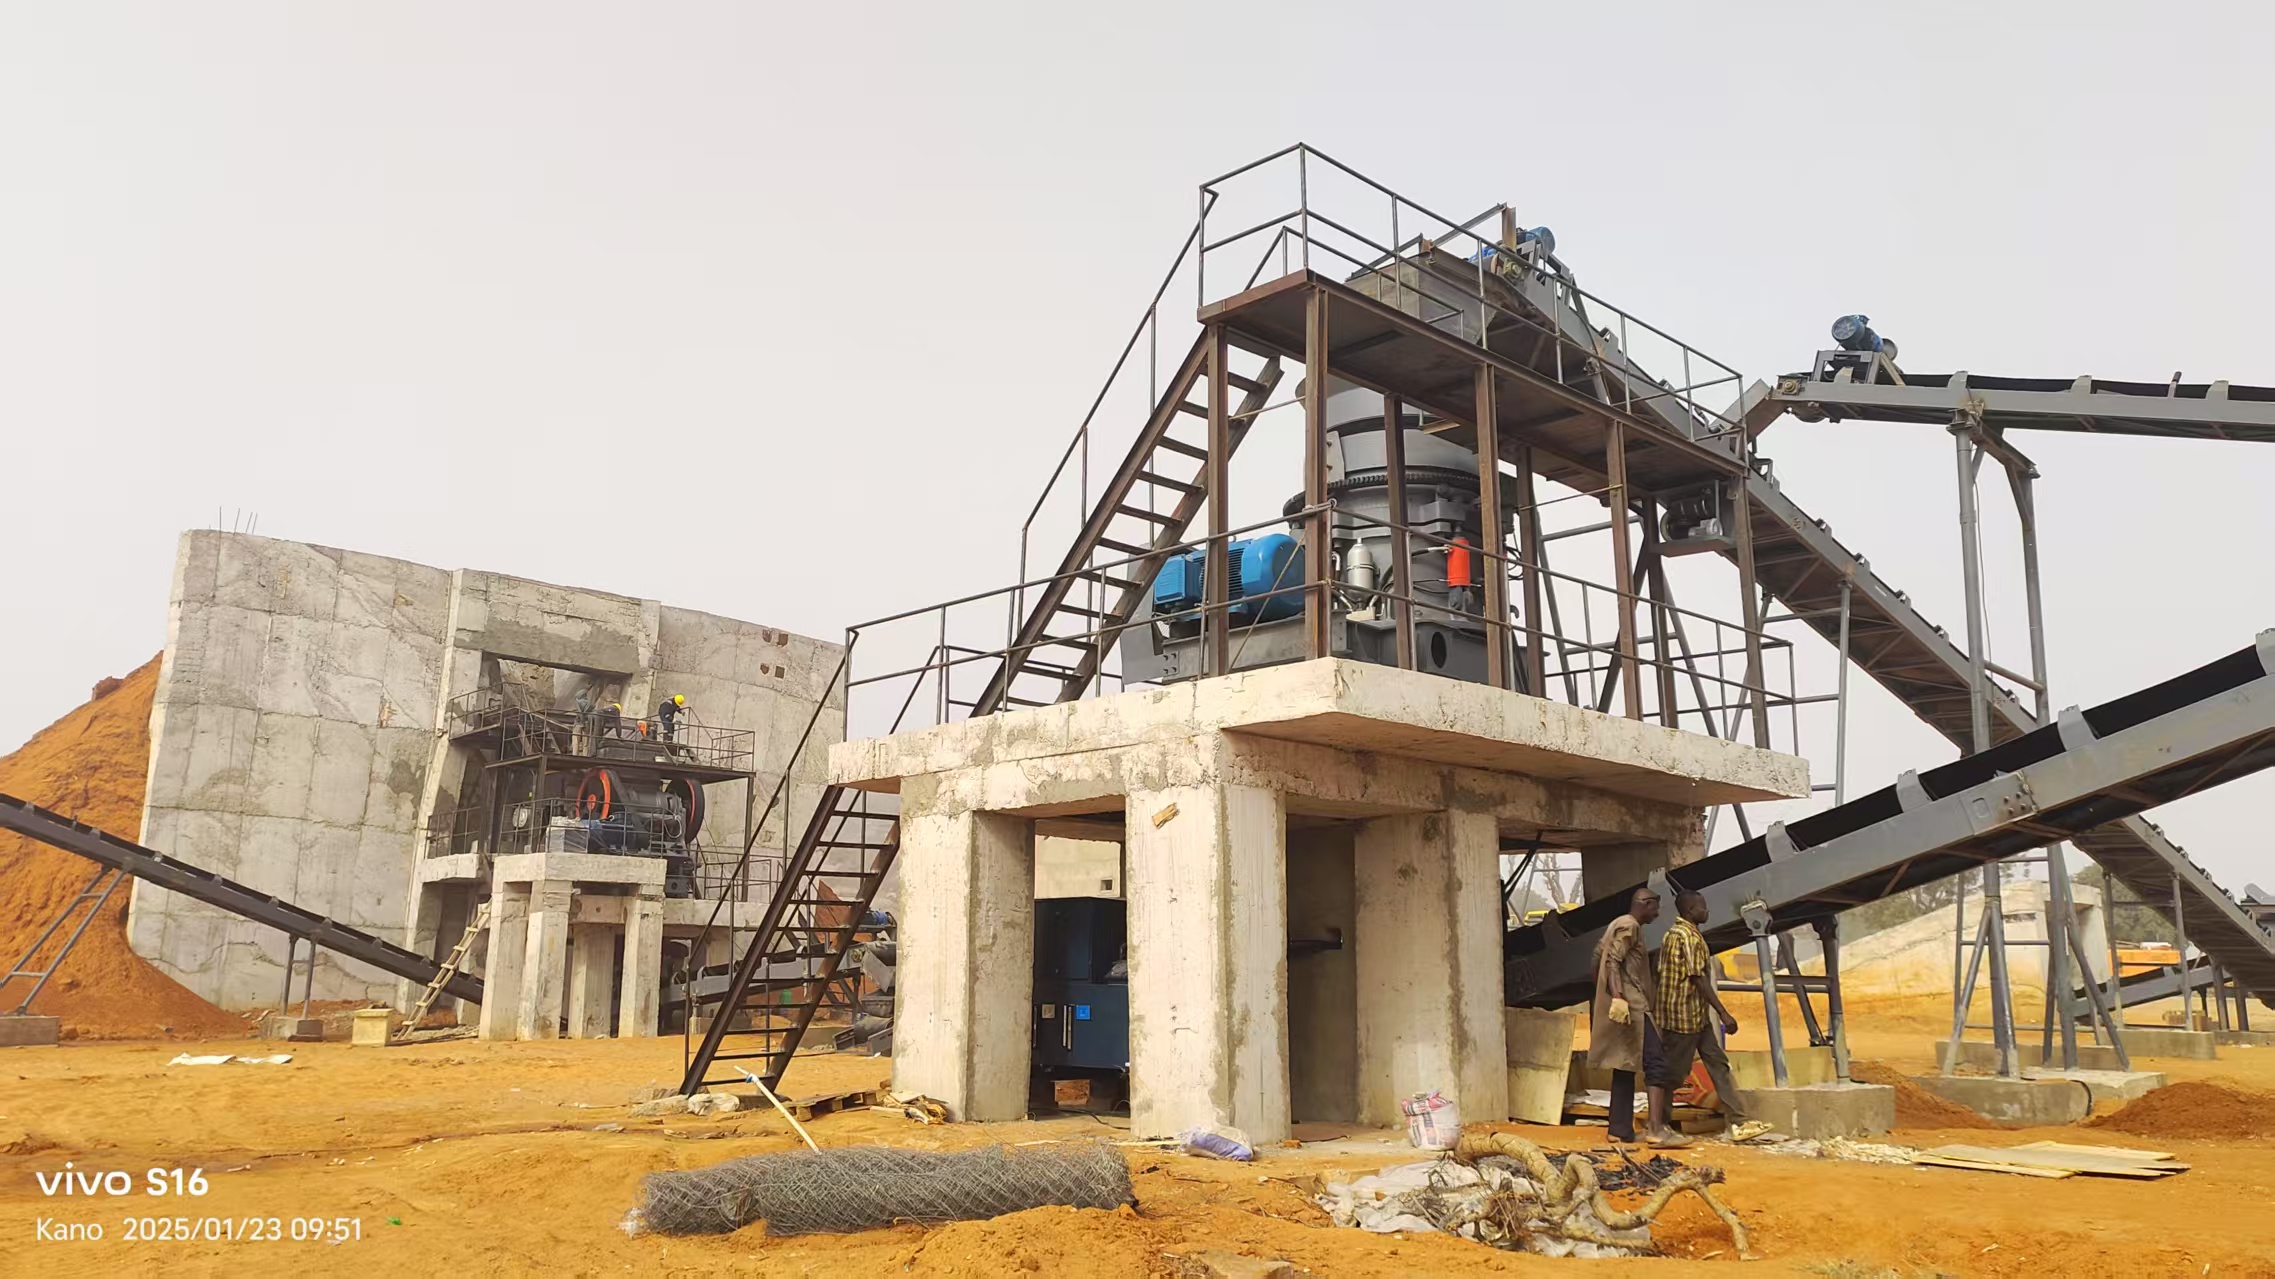
Many projects fail before the mill arrives. The foundation is the root. If the concrete is weak the mill vibrates. It destroys the gears.
The Process:
You must dig deep. The soil must be stable. We pour high-grade concrete. You must wait for the cure. Wait at least 28 days. Do not rush this step. Why? Because shrinkage cracks will ruin alignment.
Checklist:
Clean the surface. Remove oil and dust. Check the bolt holes. They must match the drawings exactly. Use a theodolite for levels. The tolerance is very tight. It should be within 0.5mm per meter.
The main bearings carry the weight. They are massive. This is the first mechanical step. Precision here is non-negotiable.
Procedure:
Place the base plates. Use shims to level them. The hollow shaft must sit perfectly. If it is tilted the oil will leak. It will also burn the bearing bush. SBM recommends scraping the bush. This ensures 100% contact.
Technical Note: The distance between two bearing centers must be exact. Measure the cylinder length. Add the expansion gap. Usually 5mm to 10mm for heat expansion.
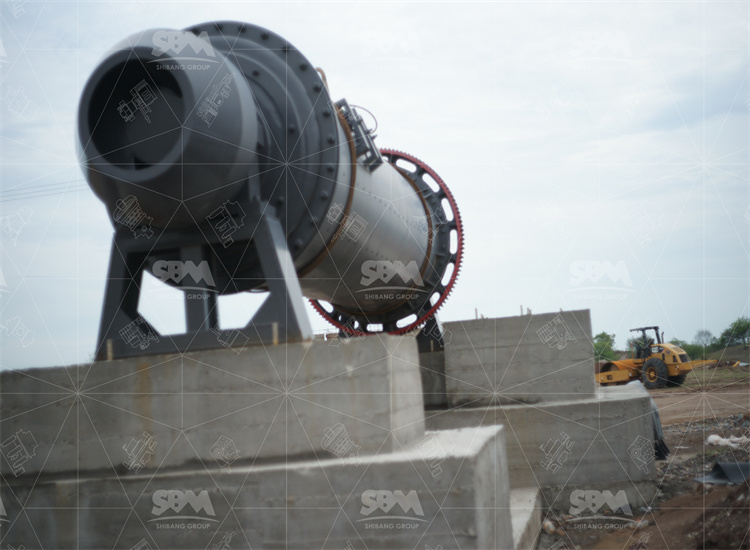
This is the dangerous part. The shell is heavy. You need a good crane plan. Safety is priority number one.
Action Plan:
Check the crane capacity. It must handle 120% of the load. Lift the shell slowly. Lower it onto the bearings. Do not scratch the journals. The journals are polished. Scratches cause failure.
Why care? A scratched journal ruins the oil film. Friction increases. The bearing melts. The mill stops. Production is lost.
The motor turns the pinion. The pinion turns the girth gear. They must mesh perfectly. This is where most mechanics fail.
The Girth Gear:
It comes in halves. Bolt them onto the shell. Use a torque wrench. Tighten to spec. Check the run-out. Radial run-out should be under 0.25mm.
The Pinion:
Align the pinion to the girth gear. Check the backlash. Backlash is the gap between teeth. It allows for heat expansion. Too tight means vibration. Too loose means shock loads.
Standard: Standard backlash is usually 0.5mm to 1.0mm depending on module size. Use a lead wire to check this.
The motor is the muscle. It drives the mill. You might have a reducer too. The alignment must be laser precise.
Coupling:
Align the motor shaft to the pinion shaft. Use a dial indicator. Or use a laser alignment tool. The tolerance is 0.05mm. Yes it is that small.
Power Check:
Ensure the voltage is correct. Check the starter cabinet. Is it Soft Start or Frequency Converter? SBM prefers Soft Start for large mills. It protects the grid. It reduces mechanical shock.
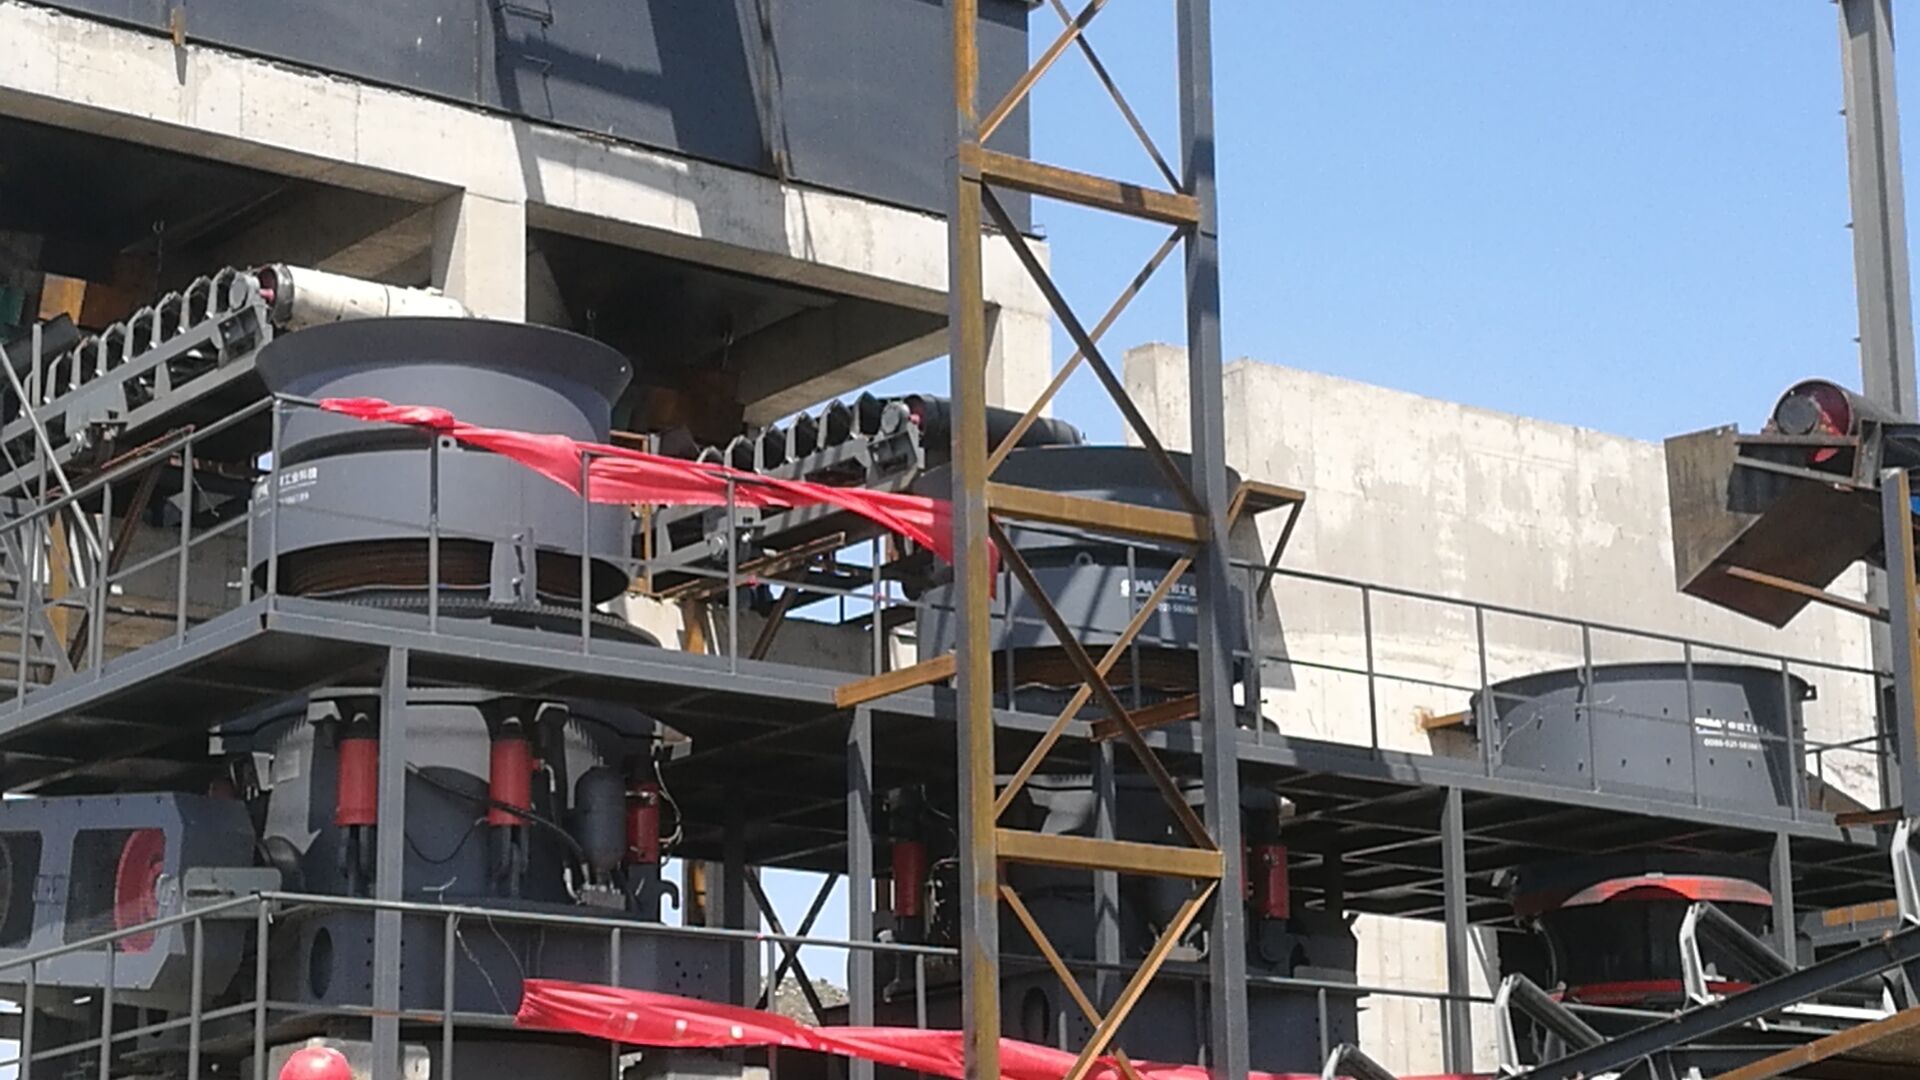
You cannot run a bare shell. You need liners. They protect the steel. They lift the balls.
Material Choice:
High Manganese Steel or Rubber? Manganese is for hard rocks. Rubber is for softer rocks. Rubber is quieter. It saves energy.
Installation:
Install from the bottom up. Rotate the mill. Use an impact wrench. Make sure bolts are sealed. Leaks are bad. Slurry destroys foundations. Use rubber washers. They seal better.
Context:
This was a high altitude site. 4200 meters above sea level. Oxygen is low. Motors overheat easily. The client had hard ore. Bond Work Index was 16 kWh/t.
The Solution:
We chose the SBM Wet Grid Ball Mill. Model MQG2740.
Why? Grid type prevents over-grinding. It discharges faster. We used a larger motor. We de-rated the power for altitude.
Results:
The installation took 15 days. We adjusted the gear spray lube system. The cold thickened the oil. We added heaters. Production hit 45 tons per hour. Recovery rate improved by 4%. The client was happy.
Client Quote: “The SBM team understood the altitude. The mill runs smooth. No vibration.”
Here is a comparison of common models we use. This helps you select. The data is from our field tests.
| Model | Barrel Dia (mm) | Length (mm) | Power (kW) | Capacity (t/h) |
|---|---|---|---|---|
| MQG 1530 | 1500 | 3000 | 110 | 2.5 – 15 |
| MQG 2130 | 2100 | 3000 | 210 | 10 – 38 |
| MQG 2740 | 2700 | 4000 | 400 | 22 – 80 |
| MQG 3660 | 3600 | 6000 | 1200 | 85 – 200 |
Context:
This was a retrofit. The old mill was broken. The foundation was existing. We had to fit a new SBM mill on old concrete.
Challenge:
The bolt holes did not match. The concrete was oily.
Action:
We used chemical anchoring. We cleaned the oil with acid. We installed a SBM Overflow Ball Mill. Model MQY2130. We used rubber liners.
Why Rubber? To reduce weight. The old foundation was weak. Rubber is 75% lighter than steel.
Outcome:
Energy consumption dropped 15%. Noise levels went down. The workers liked it. Maintenance is easier now. The liner lasts 20% longer.
Installation is just the start. You must maintain it. If you ignore it it breaks.
Lubrication:
Check the oil daily. Look for metal flakes. Flakes mean wear. Change oil every 6 months. Use the right viscosity.
Liner Bolts:
Retighten them after 48 hours. Then after 1 week. Vibration loosens them. A loose bolt causes leaks. Leaks cut the shell.
Gear Spray:
Check the spray nozzle. It must cover the whole tooth. If it clogs the gear grinds dry. This is a disaster.
Q1: Why is my ball mill vibrating excessively?
A: Usually it is alignment. Check the pinion and girth gear. The gap might be zero. Or the foundation bolts are loose. Check the grout. Sometimes the load is unbalanced. Too many balls?
Q2: Why is the discharge particle size too coarse?
A: You are feeding too fast. Or the water ratio is wrong. Maybe the steel balls are too small. You need big balls to break big rocks. Add 100mm balls. Check the classifier return load.
Q3: How do I reduce liner wear?
A: Don’t run the mill empty. Steel on steel wears fast. Keep the feed constant. Use the right liner profile. Wave liners are good. They reduce slip. SBM rubber liners last longer in fine grinding.
Installing a ball mill is science. It is also art. You need patience. Follow the specs. Do not guess.
SBM provides full support. We send engineers to site. We check the installation. We train your staff. Correct installation saves money. It ensures the mine runs for years.
Remember the basics. Level foundation. Precise alignment. Clean oil. Tight bolts. Do this and you win.
Whatsapp:+8617329420102
Email: [email protected]
Address: No. 1688, Gaoke East Road, Pudong new district, Shanghai, China.
Online Service : Get Price
We value your feedback! Please complete the form below so that we can tailor our services to your specific needs.